Resources for you and your business
Servicing your Longarm Machine
 Tracey Browning

A Guide to Longevity and Smooth Stitching
Servicing Your Longarm Quilting Machine: A Guide to Longevity and Smooth Stitching
Welcome to another insightful session from the Machine Quilting Academy! Recently, we dove deep into a topic crucial for every longarm owner: servicing our machines. Just like any finely-tuned instrument, your longarm quilting machine requires regular care and attention to ensure it runs smoothly, delivers beautiful stitches, and stands the test of time.
This blog post is the result of only a part of a recent discussion we hold monthly in our Gold Membership group to continue to improve how we run our machine quilting business and learn how to overcome frustrations using our longarm machines.
Why Regular Servicing Matters
Think of your longarm as an investment – an investment in your creativity, your passion, and potentially, your business. Neglecting its maintenance can lead to a myriad of problems, from skipped stitches and thread breaks to more severe mechanical issues that could be costly to repair. Regular servicing, whether done by yourself or a professional, prevents these headaches, extends your machine's lifespan, and maintains its optimal performance.
How Often Should You Service Your Machine?
The frequency of servicing depends on several factors, including your machine's brand, its age, and how often you use it.
For most longarm machines, a general rule of thumb is to perform basic cleaning and oiling after every large quilt or every 8 hours of use. Domestic machines, on the other hand, might benefit from an annual professional service. "I service my own longarm, and I'm pretty diligent about cleaning it and cleaning out the bobbin area using WD-40," shares 'Cathy', an experienced quilter who has owned her APQS machine for 15 years without a single issue she couldn't handle herself.
This highlights the power of consistent self-maintenance.
The Self-Service Approach: What You Can Do
Many longarm machines, especially older, industrial models, are designed for user-friendly maintenance. Here's a rundown of essential self-service tasks discussed by our members:
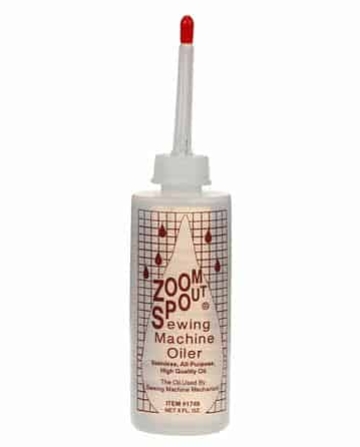
Oiling is Key
The Golden Rule:
Never Under-Oil! You can't harm your machine by over-oiling (though it might drip!), but under-oiling can cause significant damage and wear on metal parts. Listen to your machine; it will often tell you when it needs oil by sounding dry or squeaky.
- APQS Machines and WD-40:
APQS is one of the few longarm companies that explicitly recommend using WD-40 for cleaning, not oiling. As Cathy explains, "WD-40 is a cleaner. It's not an oil. So using it gets rid of all the old oil, and then I put new oil in. WD-40 is not an oil." Always follow up with your machine's recommended oil after cleaning with WD-40. - A-1 Machines: Tracey mentions, "I've got red dots to highlight all oiling points, so you just have to oil every 8 hours, and we even get a reminder come up on the screen on Platinum machines, when your machine has actually worked for 8 hours." She also adds a drop of oil to the hook after every second bobbin change and cleans the area thoroughly.
- Gammill Machines: Gammill machines, particularly older models, require more frequent oiling than many other brands and were known to drip, leading some users to place "nappies" (absorbent pads) underneath to catch the excess and prevent it from getting on quilts or rails. Oil after every large quilt, or after every two lap size quilts or if machine hasn't been used in 2 or 4 days. Check your manual for locations and number of drops in each spot.
- Innova Machines: Place 4-5 drops of oil to the inside of the hook basket every bobbin change. Apply oil to felts on rotary tension, inspect felts for dryness periodically, oil as necessary. Oiling the take-up, needle bar and presser bar assemblies is not necessary, but good preventative maintenance. Check the diagram in your manual to find these 5 points.
- Nolting Machines: 1 drop of oil in each wick on the top of the machine (painted red) and in the bottom rail of your hook assembly after cleaning, once every 8 hrs.
Cleaning Your Machine
Beyond oiling, regular cleaning is paramount:
- Bobbin Area: Clean the bobbin area frequently, especially after every second bobbin change or after each quilt, depending on the thread you're using. Lint and fluff can accumulate quickly and affect stitch quality.
- Tracks and Wheels:
Oxidizing Rails (APQS & Gammill): Some machines, like older APQS and Gammill models, have rails that oxidize, creating a black gunk from the wheels running along them. This makes your wheels stickier. You'll need to wipe these down often. Windex or rubbing alcohol can be effective for removal. Cathy notes that even with the newer Bliss system on her APQS, the carriage wheels still get "so black with one quilt."
Newer Track Systems: Machines with newer track systems, like APQS's Bliss or Gammill's Breeze, and A-1 machines with non-oxidizing tracks, are generally easier to clean, often just requiring a paintbrush to remove fluff. - Machine Head and Table: Clean these areas every 8 hours or after every quilt, especially if it's a large project.
Grease Redistribution and Checking Belts
- Gear-Driven Machines: Some machines, like A-1s, have gears that require grease redistribution. Tracey explains, "We have 2 sets of gears, one at the very top at the back and one at the very bottom, and we need to make sure that there's grease on those gears at all times. It's metal on metal." Ideally every 4-6 months if using your machine on a regular basis.
- APQS Grease Repacking: This is a more involved task. "APQS machines repack the grease. Now that's a tricky one," says Tracey. It involves taking the machine off the table, turning it upside down, breaking a seal, and repacking the grease to eliminate air pockets, which can cause the machine to become very noisy. Cathy notes that newer APQS models don't have this grease box.
- Belt-Driven Machines: For machines with belt drives, check the belts every 4 to 6 months for any splits or cracks. Some machines, like older Handi Quilters and domestic machines converted to longarms, have very sealed-up systems, making this inspection difficult.
Motor Brushes: A Crucial Check
If your machine has motor brushes (many newer machines have brushless motors), checking them every 6 months is vital. Symptoms of worn brushes include black soot under the motor or on top of the machine, or a "popping" or "backfiring" sound. Cathy shares her experience: "My symptoms were that the machine would speed up, slow down, speed up and slow down for no apparent reason... It's nothing to change them. It's a bit messy, but it's very simple. And I change them. And the problem resolved immediately." Neglecting worn brushes can lead to motor damage or even cause the machine to stop entirely.
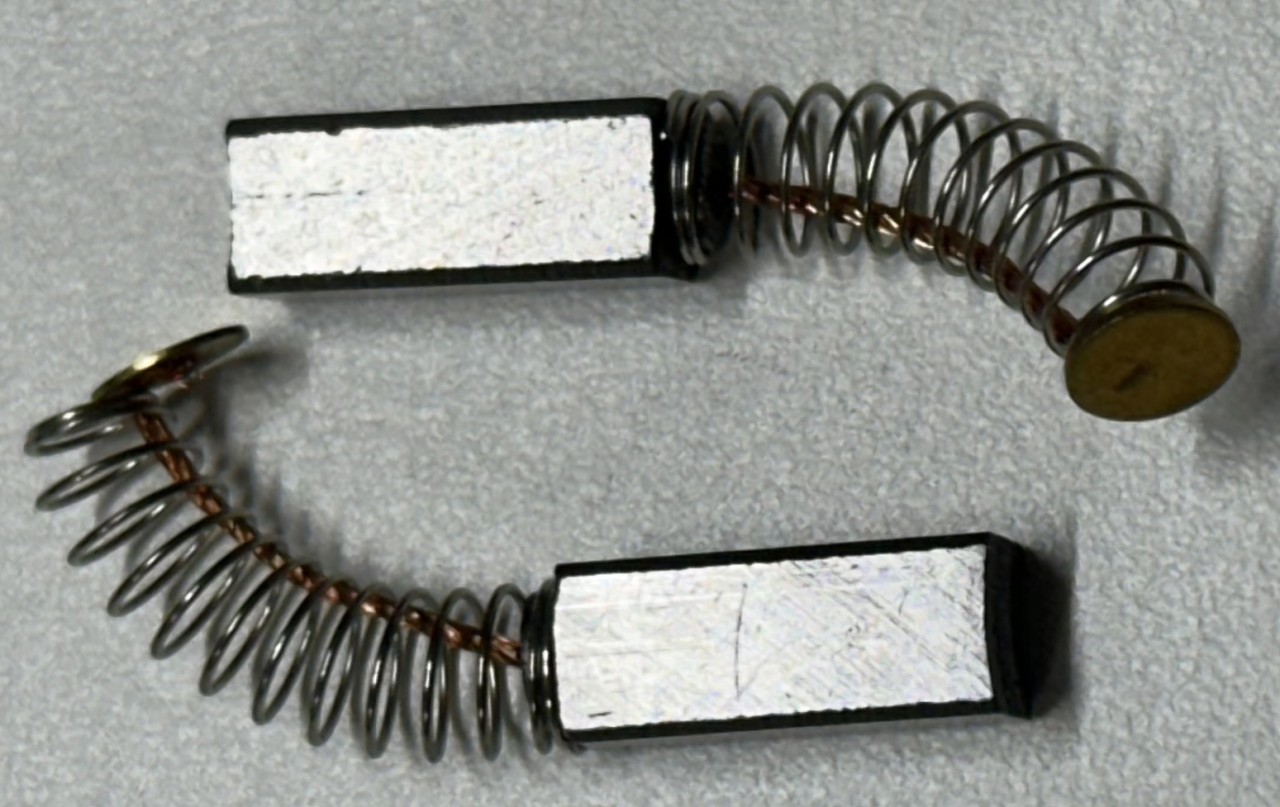
Table and Track Alignment
- Table Bolts: For machines like APQS, check the table bolts that hold the cylinders and rails together every 6 months.
- Take-Up Roller: A-1 and Gammill users need to regularly check their take-up rollers to ensure they raise and lower evenly on both ends and maintain a consistent height across the roller. Nolting machines also have a take-up roller that needs attention, though some models can have a leveling bar added.
- Table Leveling: If your machine drifts on your table, it's a clear sign your table isn't level. As Julie recounts, "I just spent 2 and a half hours leveling my table because we've been very dry. Then we've had it wet and we're on clay, and it really did travel." A level table is fundamental for smooth machine movement.
- Wheel Connection: Some brands, like A-1s, have eccentric bolts on their wheels, allowing individual height adjustments. This ensures every wheel contacts the track equally, preventing "fishtailing." Older APQS systems also had eccentric bolts for horizontal wheels, affecting movement if not adjusted correctly.

When to Seek Professional Help
While many maintenance tasks are DIY-friendly, some issues require professional attention. This is particularly true for electronics. As Tracey points out, "The thing that's confusing or more difficult with the newer branded machines is the electronics have gotten so high tech... It gets tricky because the companies that are producing all the stitch regulators and the computer systems now struggle to keep up with the changes in hardware and software." At all times when troubleshooting the software or electronics of a machine, have guidance from your dealer or the company.
For older machines, the availability of parts can be a concern. Cathy's 2010 APQS and Tracey's 2002 Millennium model are examples where parts might become scarce, despite "lifetime warranties" that only apply "whilst parts exist."
This highlights the importance of proactive maintenance and understanding your machine's potential longevity. For mechanical issues that you can't resolve yourself, an industrial sewing machine mechanic should be able to assist, as the mechanical principles are generally consistent across brands.
Leader Care: An Often-Overlooked Detail
Donna brought up an excellent point about leaders. Spritzing backing fabric with water can warp leaders, as Tracey experienced firsthand when her leaders "shrank really weirdly" after getting them wet. To straighten bowed leaders, Tracey recommends pinning the two folded edges together equally, then stitching a perfectly horizontal line with the channel lock engaged. If the leaders aren't square, you can re-hem them to align with this new stitched line. Using a heavier canvas, such as 10-ounce cotton duck, as recommended by Gammill, Nolting, and A-1, can also help prevent stretching and warping compared to lighter 6-ounce cotton duck.
Final Thoughts
Ultimately, diligent self-maintenance is your best friend when it comes to your longarm quilting machine. By understanding your machine's specific needs as outlined in its manual and performing regular cleaning, oiling, and inspections, you can prevent many common issues and enjoy years of smooth, trouble-free quilting. Listen to your machine, address minor issues promptly, and don't hesitate to seek professional help for complex electronic or mechanical problems.
Gold Members:You can watch the full discussion inside your Q&A Course at any time. Use the video search guide with keywords to find where we discuss any topic each month since Oct 2020.
Check out your Bonus Resources course to find premade helpful customer handouts that you can brand with your own business logo and information.


Categories: : Longarm Maintenance
IQ Summit Facebook group
Have you joined our community here on Academy or on the FREE Facebook Group for IQ owners? Click on the Facebook icon to join in and see all the amazing designs that everyone has come up with already, building on what they have learned inside this membership. If you are a paid member of IQ Summit or the Gold Members group then we also have a private community inside this platform as well. You can find the link on the top of this page to explore the community you are enrolled in here.
Would you like to have more information at your fingertips to help you with your Longarm Business?
Then head on over to check out the Resources I’ve prepared for you. A really valuable article with a downloadable pdf is a Longarm troubleshooting checklist that everyone should print and use when having machine issues!
We discuss many relevant topics in our monthly live Q & A sessions where we all learn something new and useful each time. From these, courses and articles are created, to build out our library of resources for members to find and utilise when needed.
Then join us in the Gold Member Group of Machine Quilting Academy. If you are already a paying member of IQ Summit then contact me for a special discount voucher to sign up to this service.
